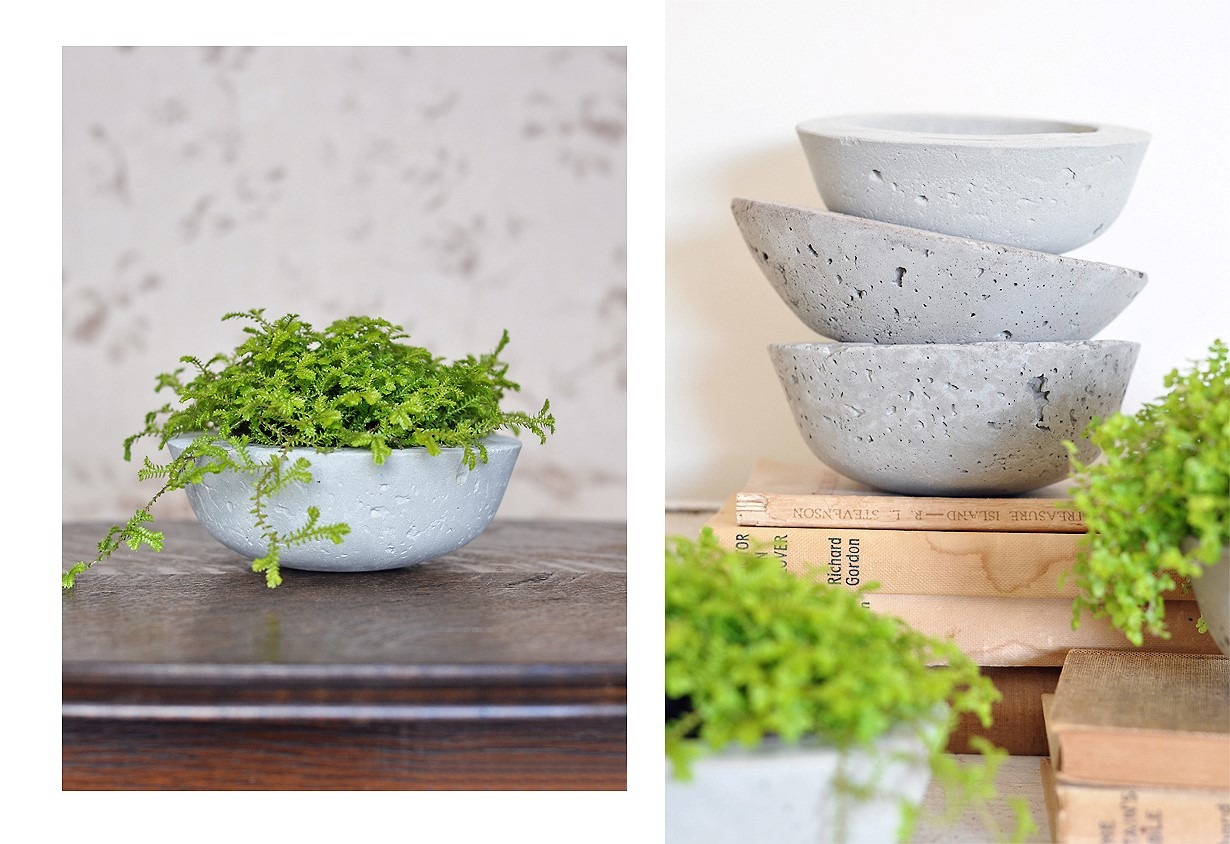
Make your own cement planter
You will need:
- PPC cement
- Water
- Aggregate (could be sand, gravel, perlite or peat moss)
- Mixing bucket or container
- Mixing tool – wooden spoon, small trowel or small spade
- Oil or baking spray for lubricant
- 2 x plastic or metal bowls of different sizes, so one fits into the other (make sure the inner mould size allows for a thick enough wall (15mm at least)
- Sand paper
Step 1
Gather all your materials.
Step 2
Mix cement with aggregate (1:3), blending thoroughly.
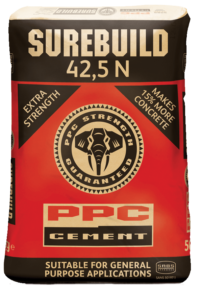
Step 3
Slowly add water and mix to a smooth, well-blended consistency.
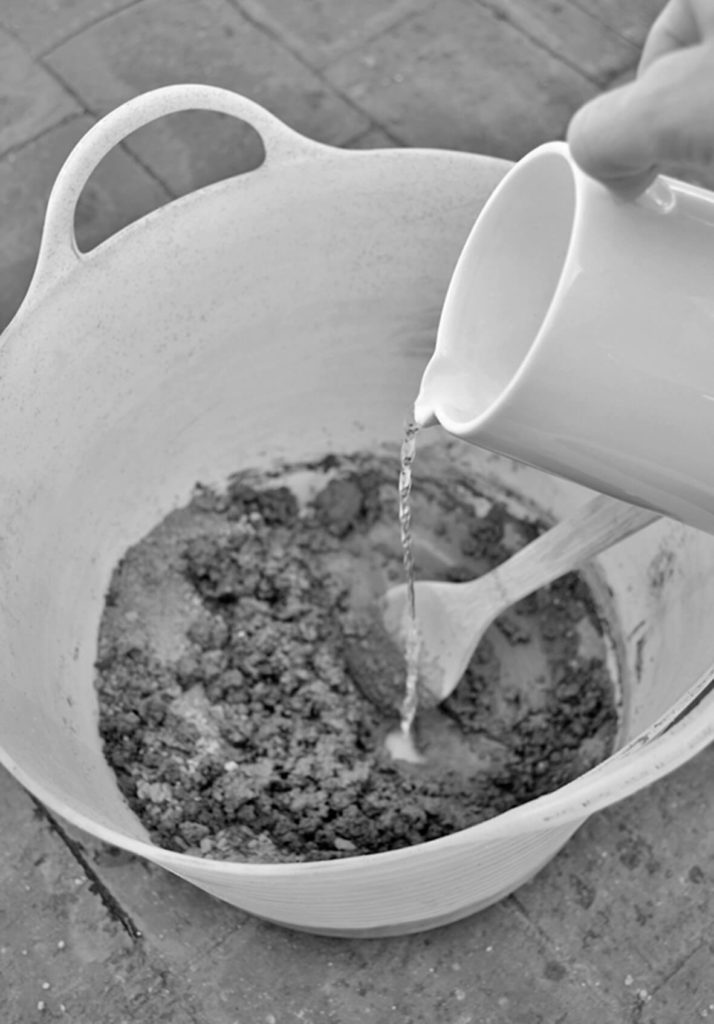
Step 4
Lubricate the inside of the bigger bowl and outside of the smaller bowl.
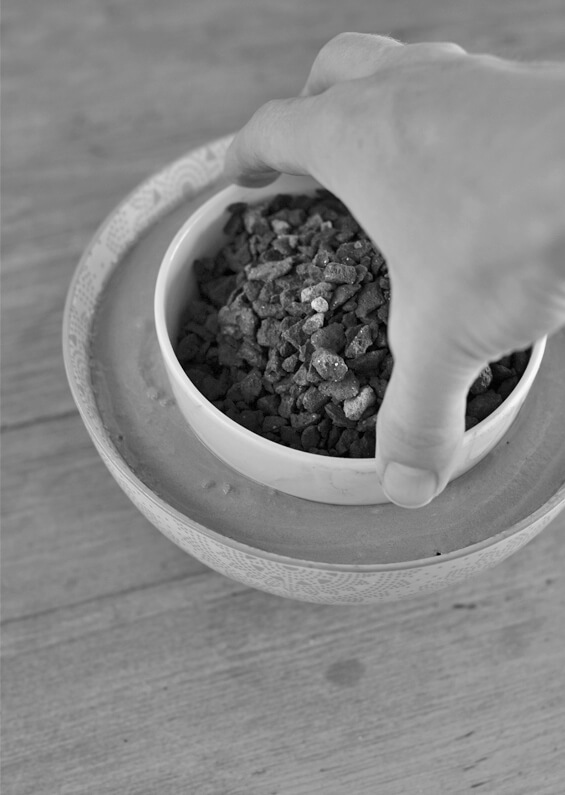
Step 5
Pour or scoop a little cement into your outer bowl (fill just less than halfway).
Step 6
Place your smaller bowl in centre and press down, ensuring you are leaving at least 2cm of concrete at the bottom, for the base.
Step 7
Weigh down the inner bowl with a heavy stone or similar.
Step 8
Ensure your inner bowl is elevated, so that you can easily pull it out when you are ready to de-mould.
Step 9
Smooth out the top edge if needed.
Step 10
Wrap or cover lightly in plastic and allow to cure for at least 48 hours, but preferably 4 – 5 days.
Step 11
Remove moulds – you may need to give a little twist of the inner mould or drop from a short distance to help loosen the moulds.
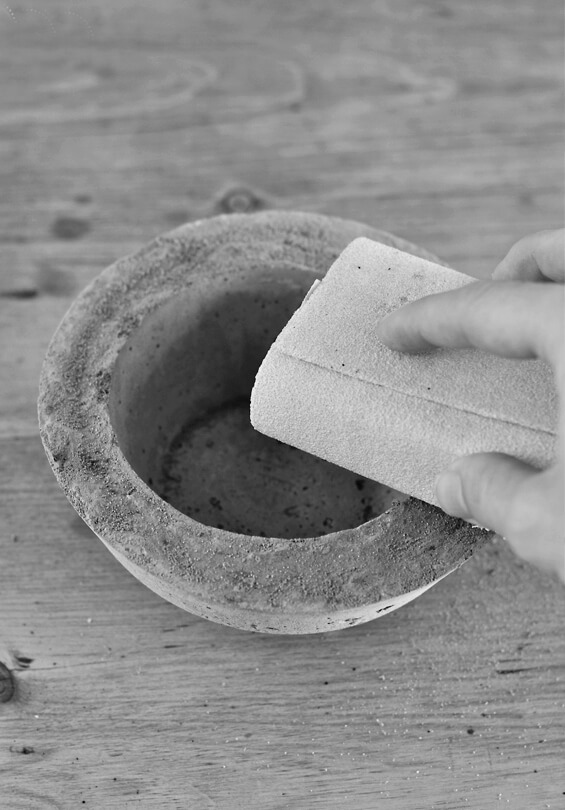
Step 12
Sand where needed, for a smooth finish.
You can now use as a planter, to house your coins, keys or jewellery, or for any other use you can think of in the bedroom, bathroom, garden or kitchen.
[Optional – if you would like some texture, simply place a slightly crumpled plastic shopping bag or bubble wrap in the outer bowl and lubricate thoroughly before commencing with Step 5.]

