How to Screed a Floor
If you have any experience working with PPC cement, you could even consider doing it yourself. Provided it’s a smallish floor and you’re not looking for a pristine professional finish, it might be a very rewarding home DIY project to tackle!
Many people aren’t sure what the difference is between a concrete floor and floor screed, which is not too surprising when you consider that both are made from cement, aggregates and water. So what is the difference? Concrete is a much more coarse mixture, using larger aggregates to make it stronger and more durable, whereas a screed mixture is far smoother, with sharp sand used as the aggregate, and much less aggregate used.
Because concrete is so strong, it’s used across the construction industry for structural purposes – including for floor slabs. The smoother screed is usually applied on top of the concrete slab and is most used to level the floor before the final floor covering of a carpet, tiles, linoleum, etc., or as a final layer itself. This is often done in, for instance, a warehouse environment or as stylish flooring in a country cottage or “industrial” style house or loft apartment.
There are three main types of screed – bonded, unbonded, and floating. Bonded is when the screed is applied directly to the concrete base using a bonding agent, bonded is when the screed is laid onto a membrane, and floating is when the screed is used as an insulation layer, for instance with underfloor heating.
On your right are basic instructions for a DIY screed floor. Make sure you consult several sources before you begin, to ensure you have all the information you need for preparing, shopping for, and completing the task.
You will need:
- PPC Cement
- Sand
- Water
- Bonding agent
- Large paint brush or roller
- Bucket for mixing
- Mixing tool
- Straight edge BATTEN
- Trowel
- Safety glasses
- Gloves
- Dust mask
Preparation:
To prepare the floor, remove everything so that the floor is completely empty. Next, sweep or vacuum any dirt, dust or debris. Measure the floor, so that you can get the right mix of materials for the size.

Step 1:
Moisten the floor slightly.
Step 2:
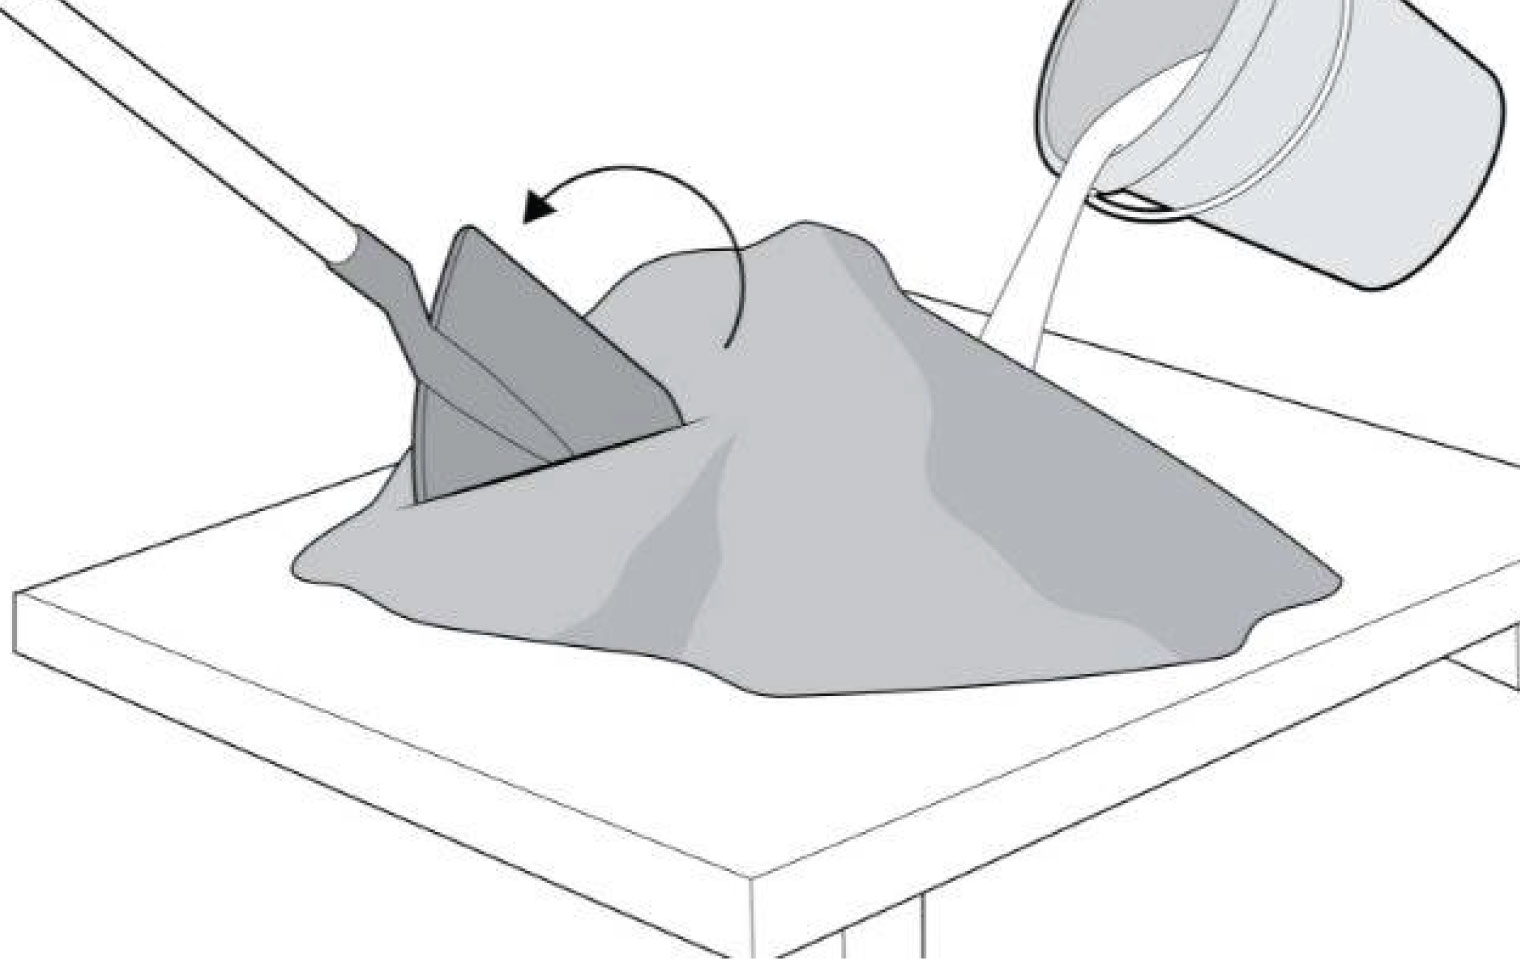
Make your primer by mixing PPC cement, water and bonding agent, according to the size of your floor.
Step 3:
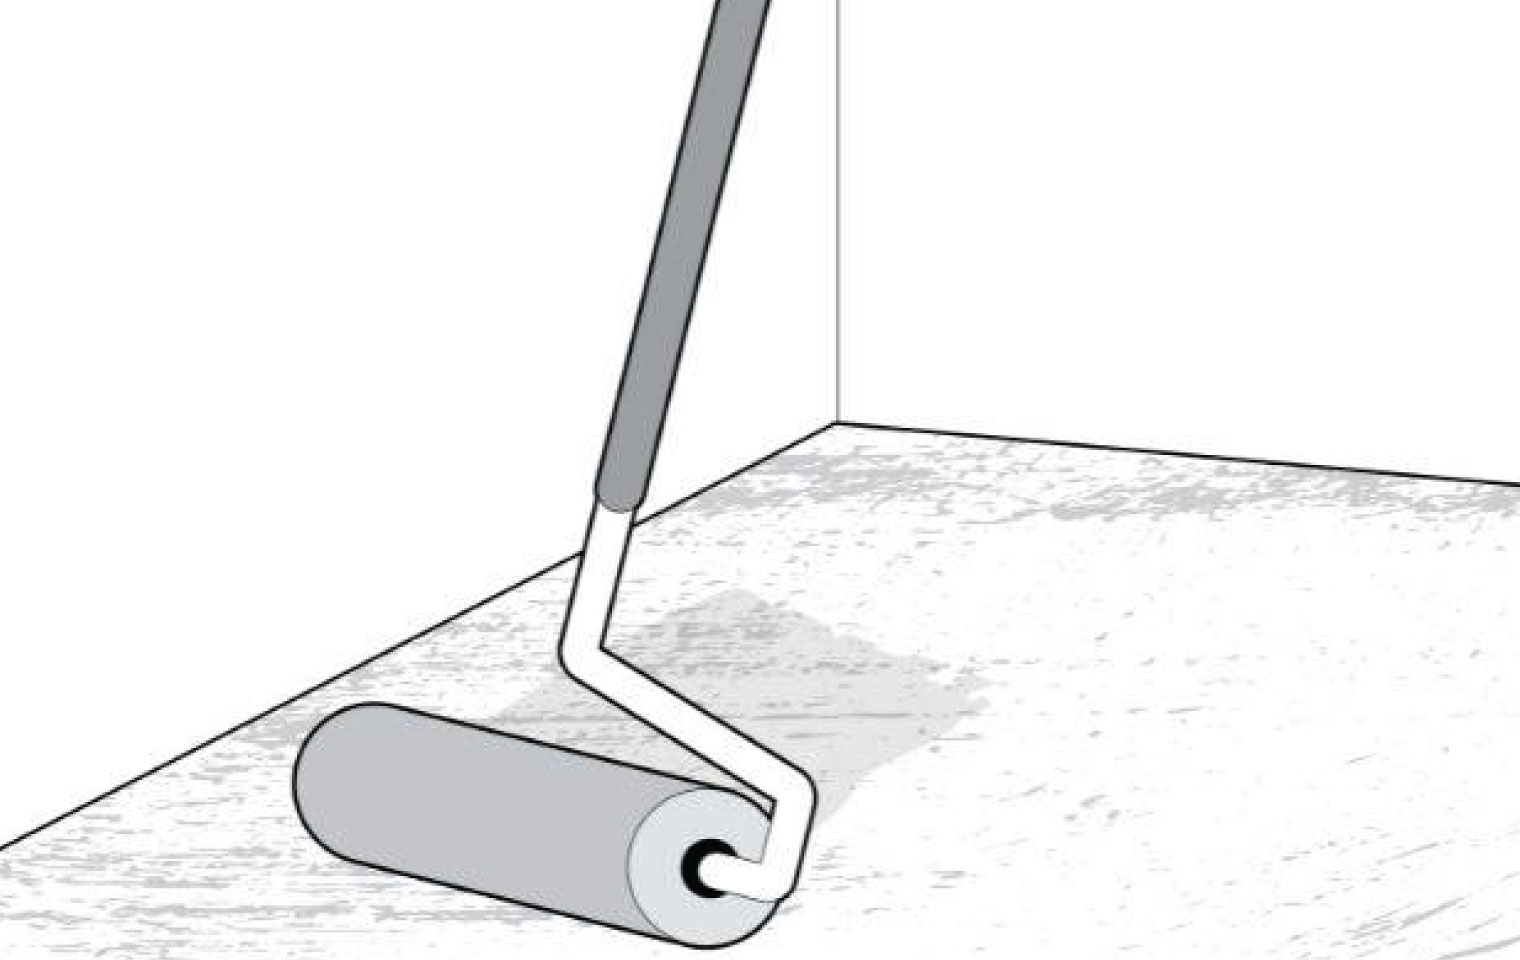
Apply the primer to the floor in a thin layer using a large paint brush or roller.

Step 4:
Mix together the PPC Cement, sharp sand and water to create the screed mix. The amount will depend on the floor size and the thickness of the screed.

Step 5:
Now, you will start to pour or brush the screed mix over the primer.
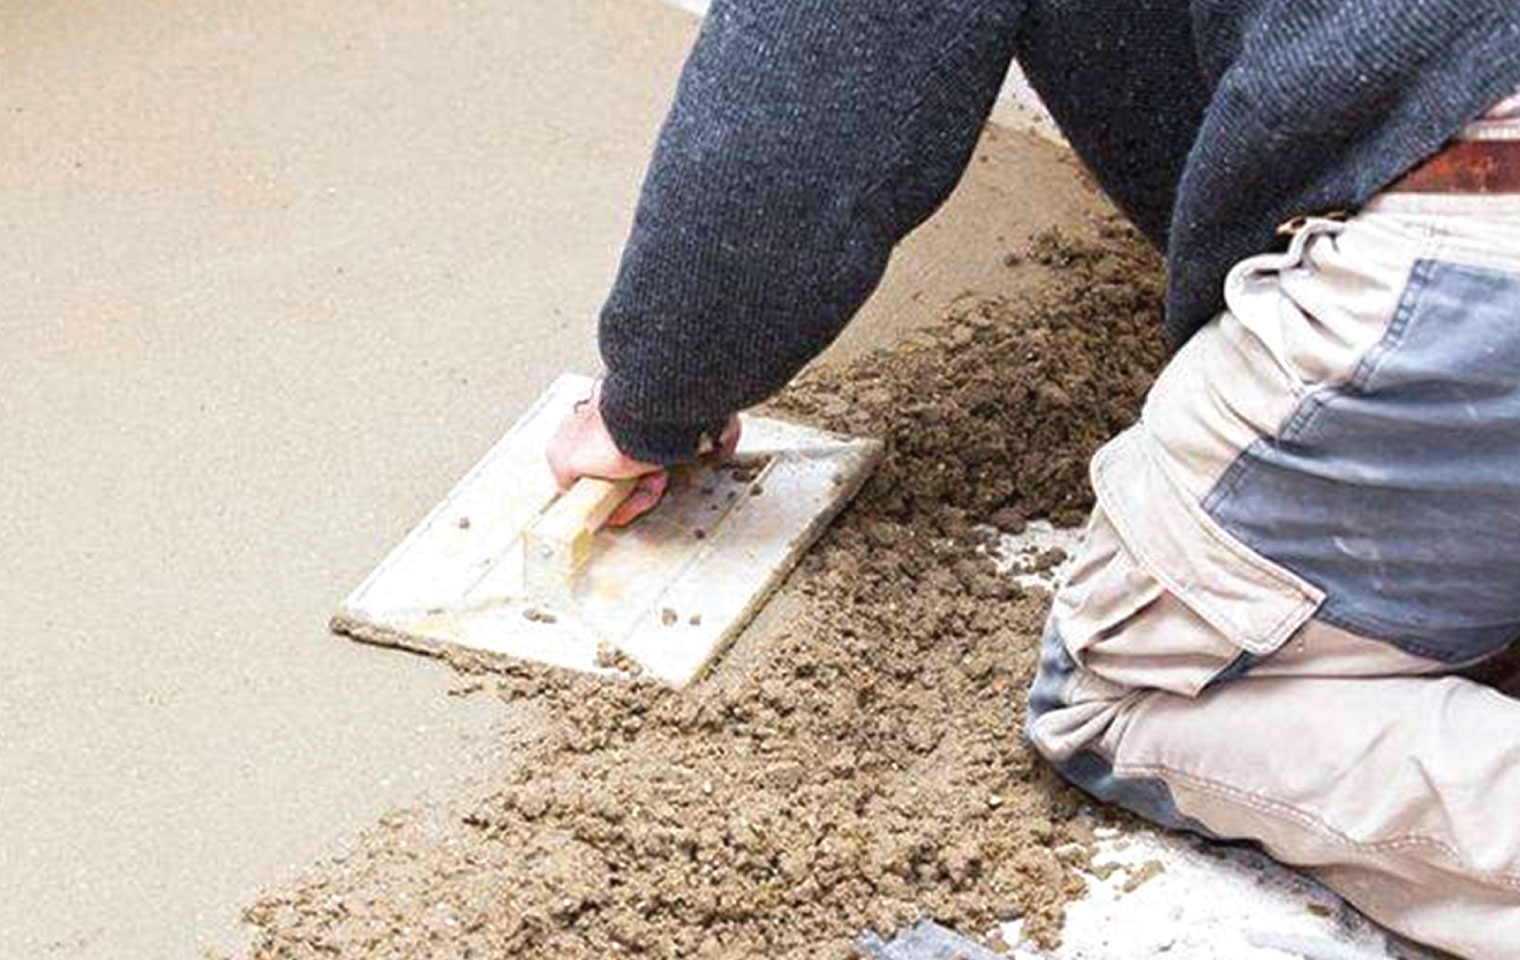
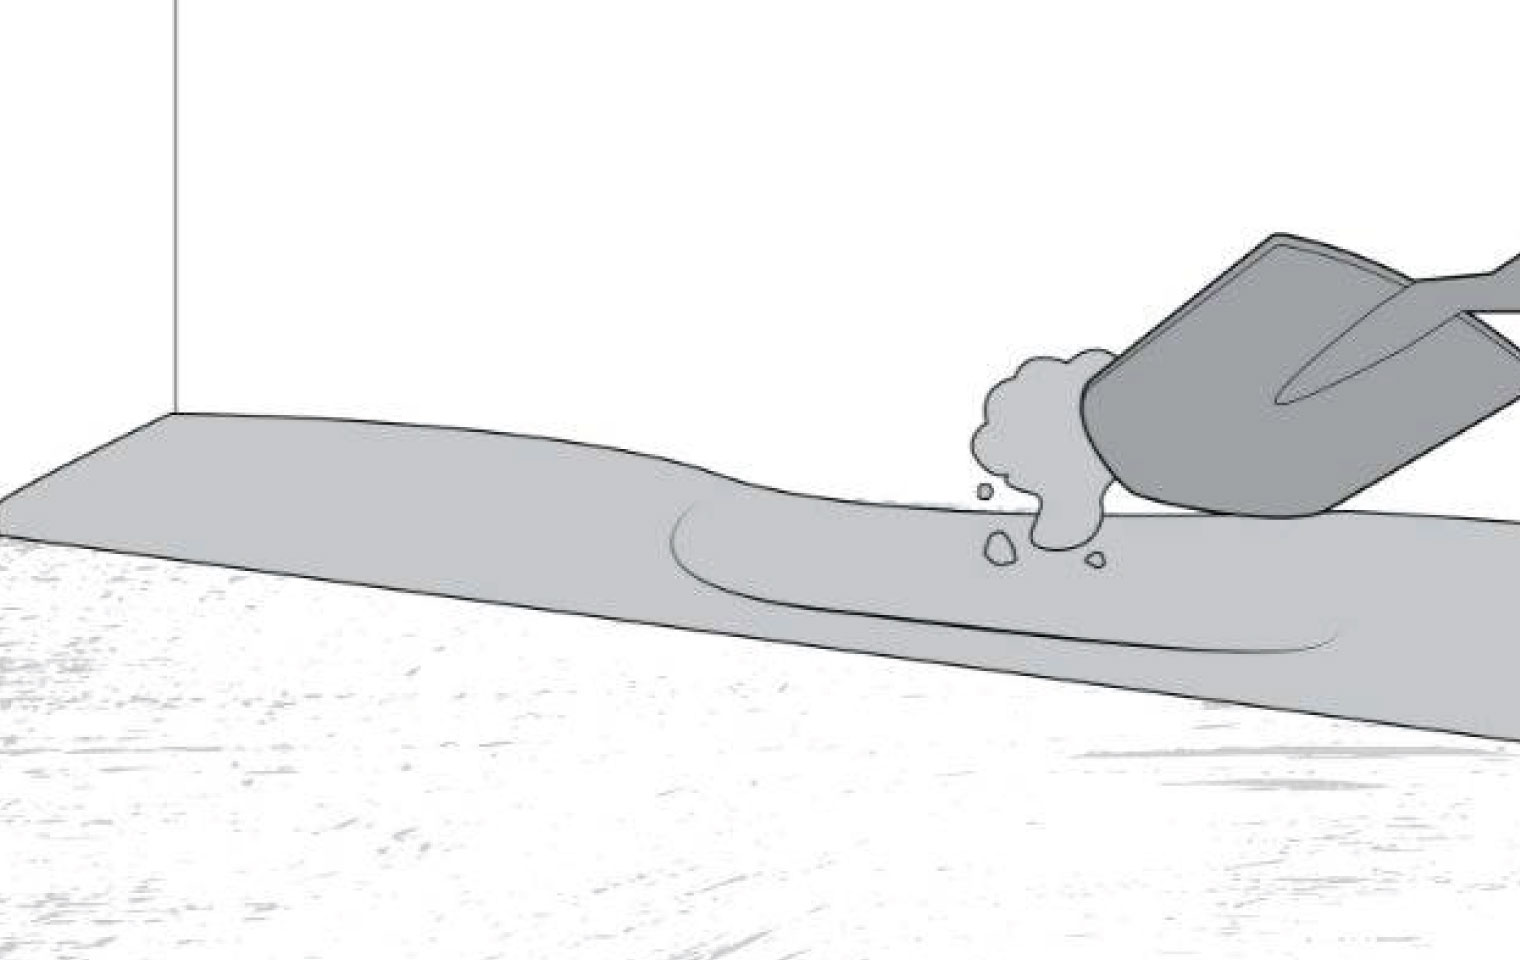
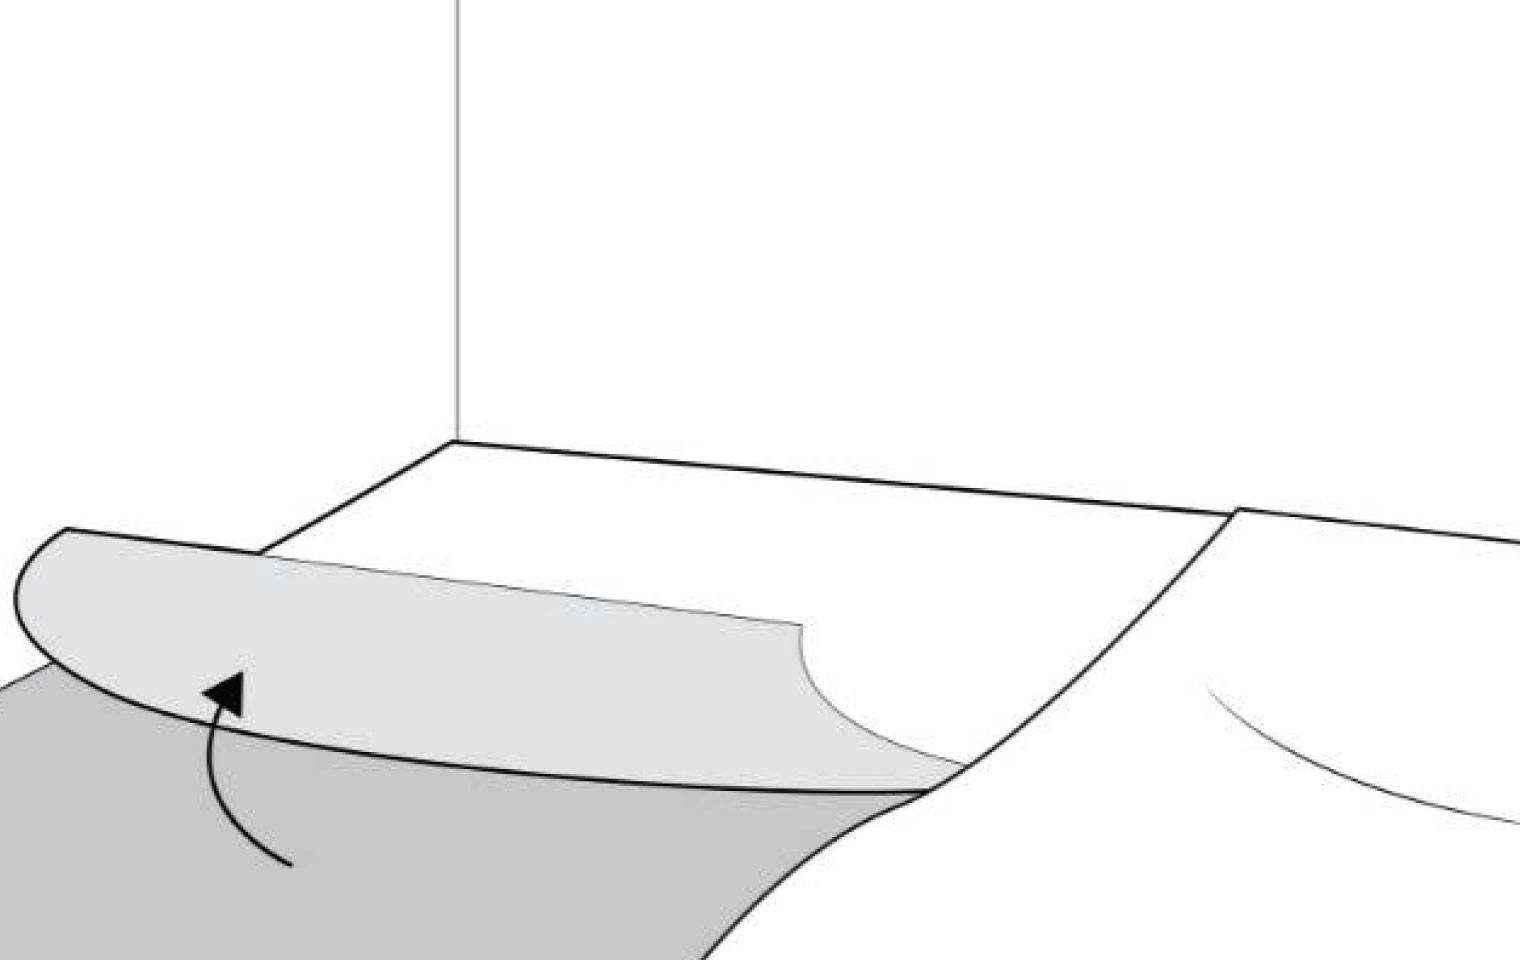
Step 6:
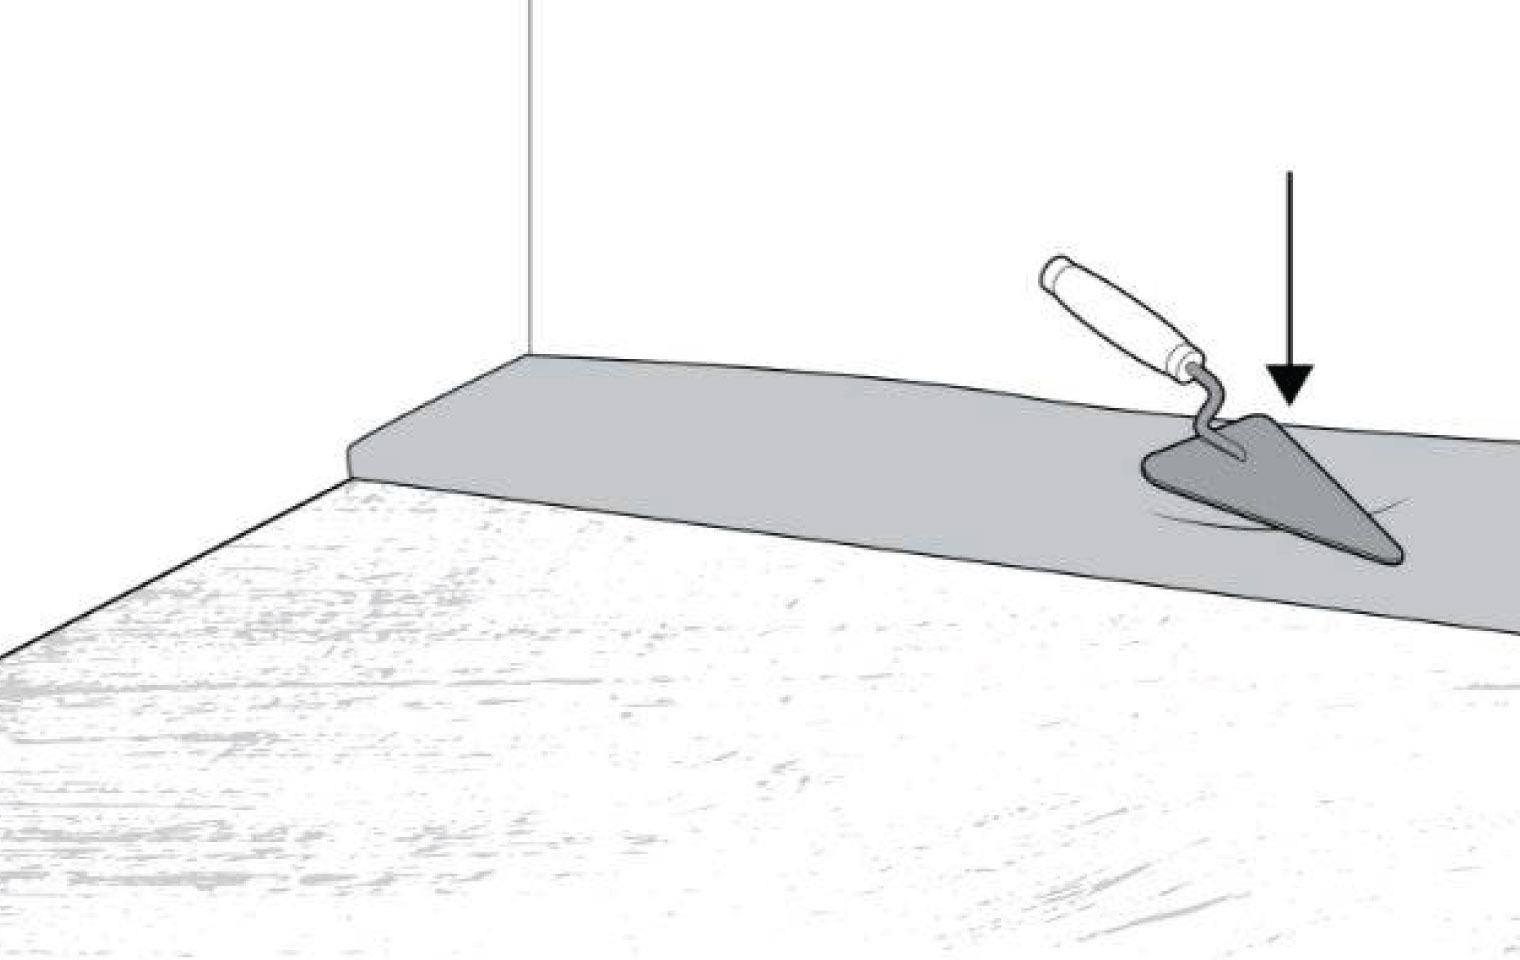
Work in small sections to help ensure the floor remains level. Complete a small area at a time by using a trowel to spread the mixture before levelling it with the batten. You can also use a spirit level to keep checking levels.
Step 7:
If you notice any dips on the surface, simply add some more mixture and continue to level it out using your trowel and batten.

Step 8:
Once you have covered the entire floor and you’re happy that it’s level, you will need to cure it. Cover the floor with a polythene sheet and leave it to cure over several days.
Step 9:
Remove the polythene sheet after 2 – 3 days and allow the floor to dry over several days.
Step 10:
Once your surface is completely dry, the job is then complete.
