Grow your own potatoes and sweet potatoes
Both regular potatoes and sweet potatoes are extremely easy to grow, and quick to yield a satisfying harvest. Use our quick grow guide to plant your own and you could be harvesting these versatile veggies in winter.
It may seem like a long time away, but in just a couple of months, temperatures will drop and we will start thinking about lighting indoor fires, getting the blankets out and making soups and stews. One staple you’ll always need through winter is the humble potato. Cottage pie, curries and stews with creamy mash, crispy chips, roasted potatoes or baby potatoes - winter just wouldn’t be the same without them.

PLANTING
Potatoes are an easy crop that can be grown all year round in some parts of South Africa and for many months of the year in others. They’ll grow in just about any soil, other than heavy clay, as this doesn’t allow the potatoes enough air.
To start, choose a spot that receives full sun and prepare your soil thoroughly, enriching it with plenty of compost. Don’t use strong chemical fertilisers or fresh manure, as this could lead to burning and rot; rather add bonemeal and organic fertiliser.
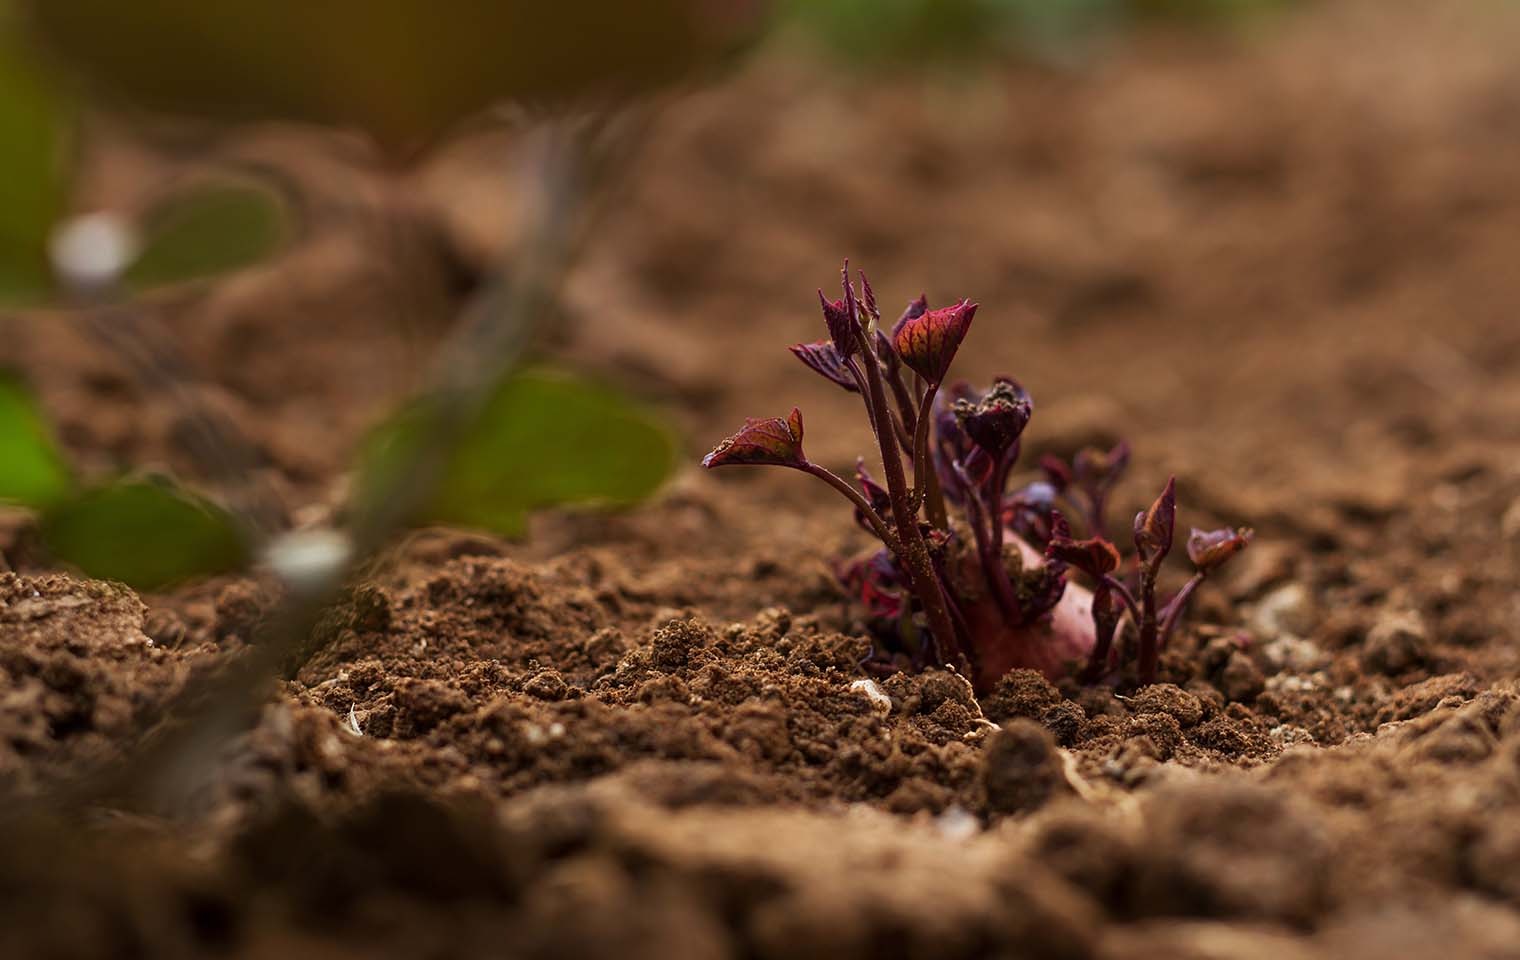
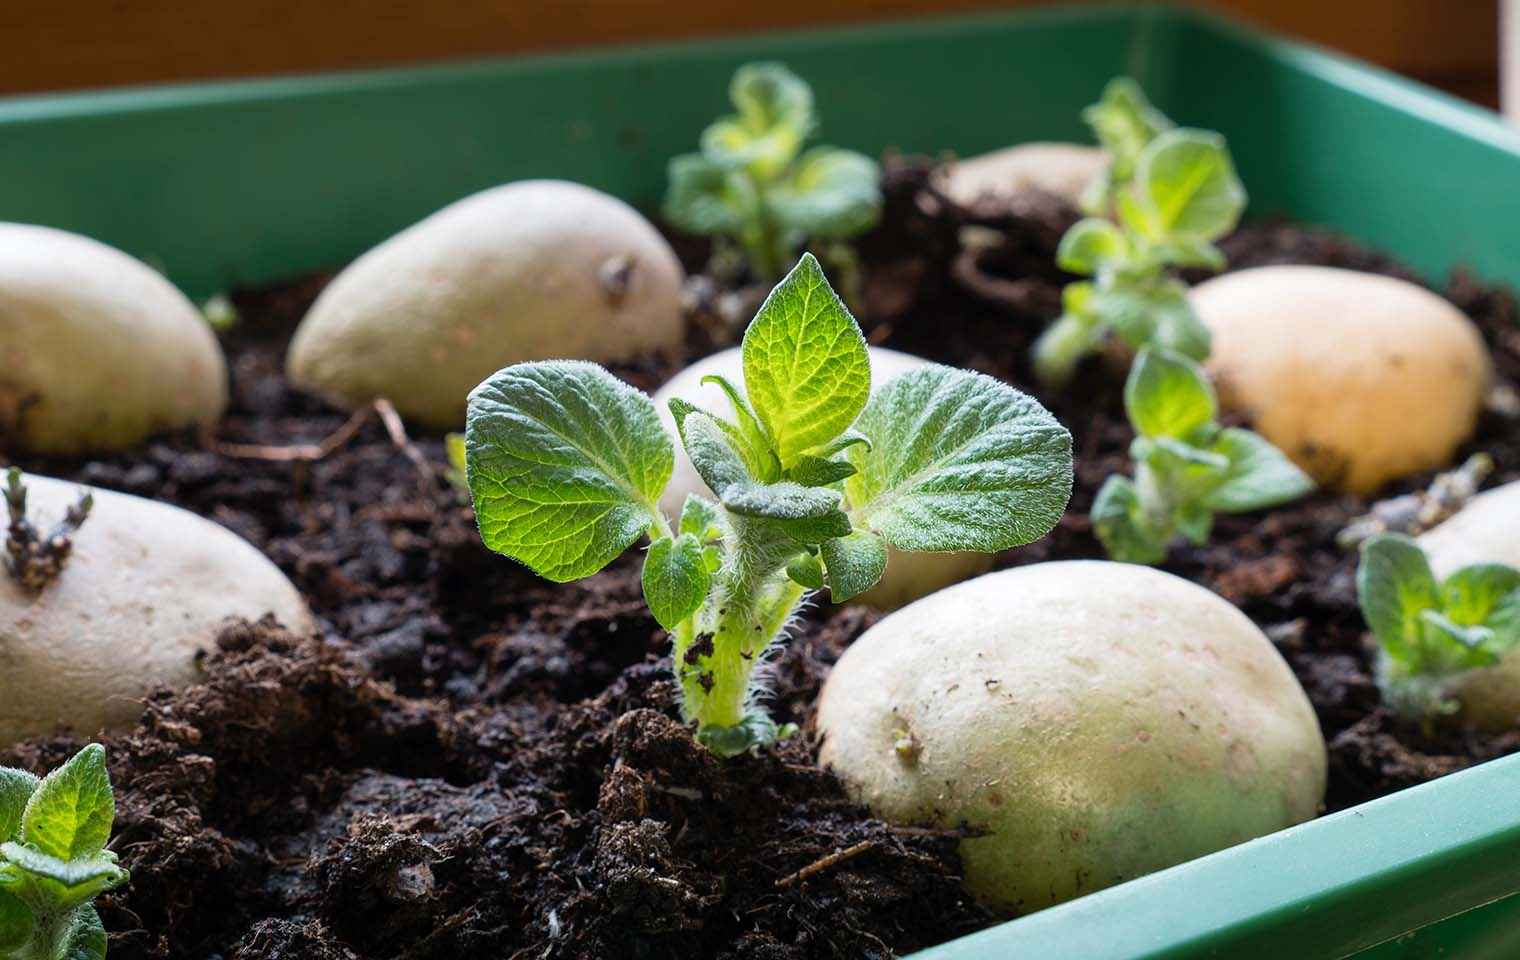
If you can’t find seedlings or potato seed from your nursery, you can plant from a seed potato - a potato that has grown “eyes”. Cut your seed potato into pieces, making sure that each piece has at least one eye. Next, to avoid disease, place the cut pieces in a dry area and let them seal for at least 24 hours before planting them. When they are ready to plant, place your tubers - sprout side up - into the soil to a depth of around 10cm with 30 – 40cm between them. Cover with your prepared soil and water.
GROWING
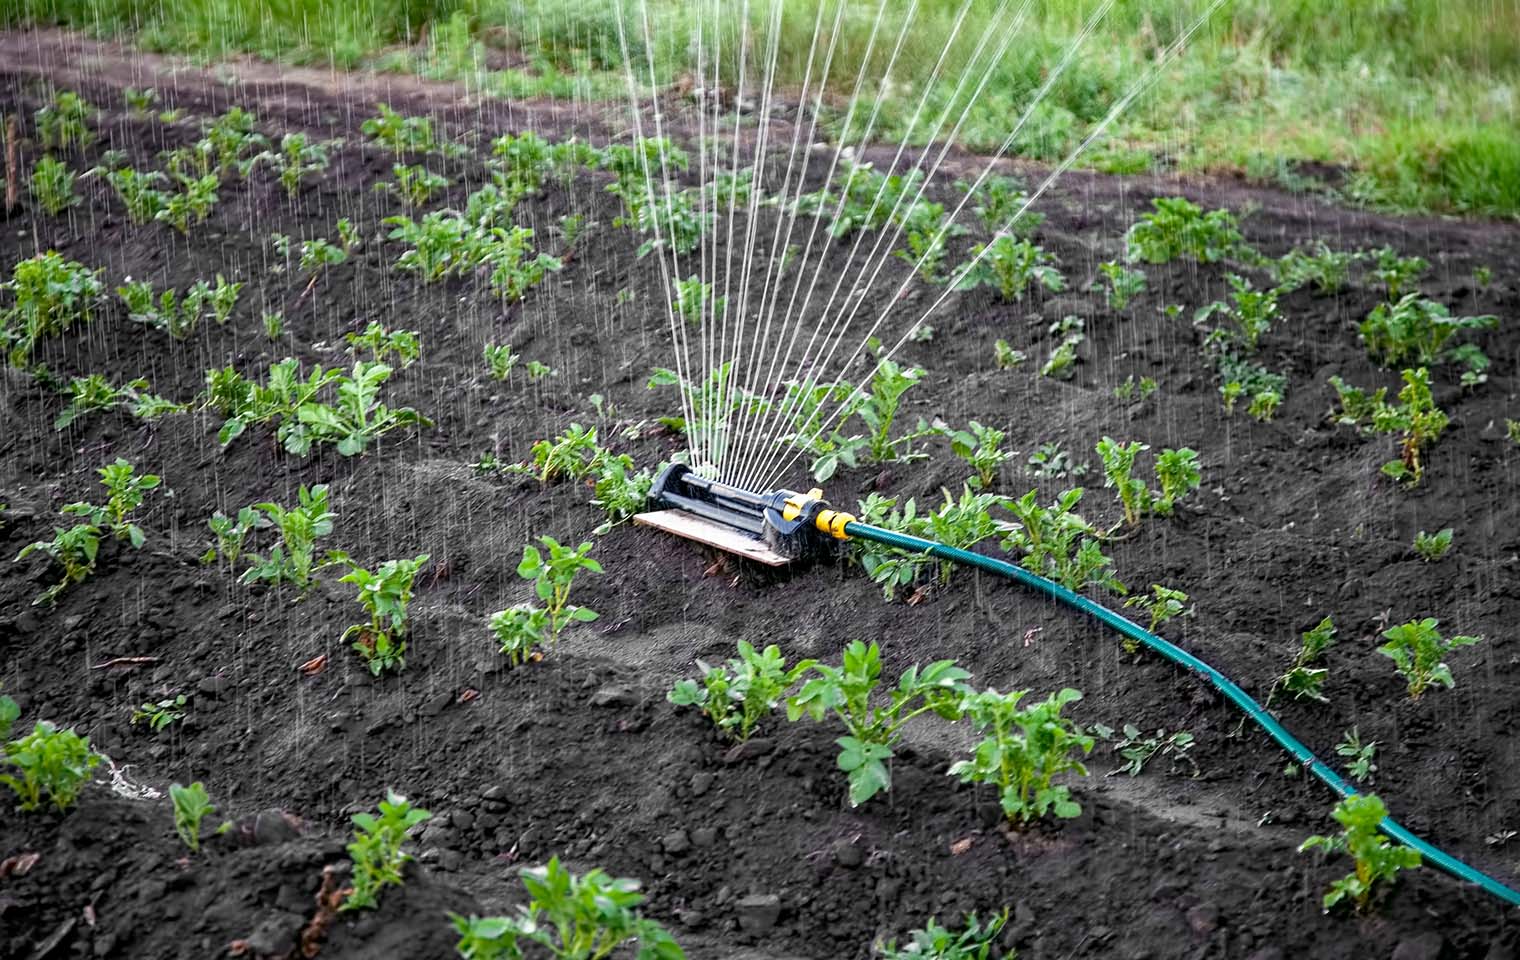
Soon, you will see the green shoots starting to push through the surface of the soil. Although they may seem sturdy, the shoots can be brittle and break easily, so be careful with them. Water twice a week in the early growing stages, avoiding the leaves, as wet leaves are susceptible to fungal diseases.
During the growing stage, you will need to “hill” the vines. This is because new potatoes form on lateral stems above the seed potato. When the green sprouts reach about 20cm in height, bury half the sprouts with soil, creating a wide mound around the shoots. Repeat this process every time the greenery has reached 20cm. When the vines begin to flower, it’s time to stop hilling the plant. A good method for keeping the plant secure and contained as it grows is to place a brightly painted car tyre around the plant, adding more tyres as the plant grows and the mound of soil gets higher and higher.
If creating a mound without the use of tyres, make sure the mounds of soil do not crack open, as this invites harmful pests. You can also plant nasturtiums near the potatoes to act as a natural, colourful pest repellent.
HARVESTING
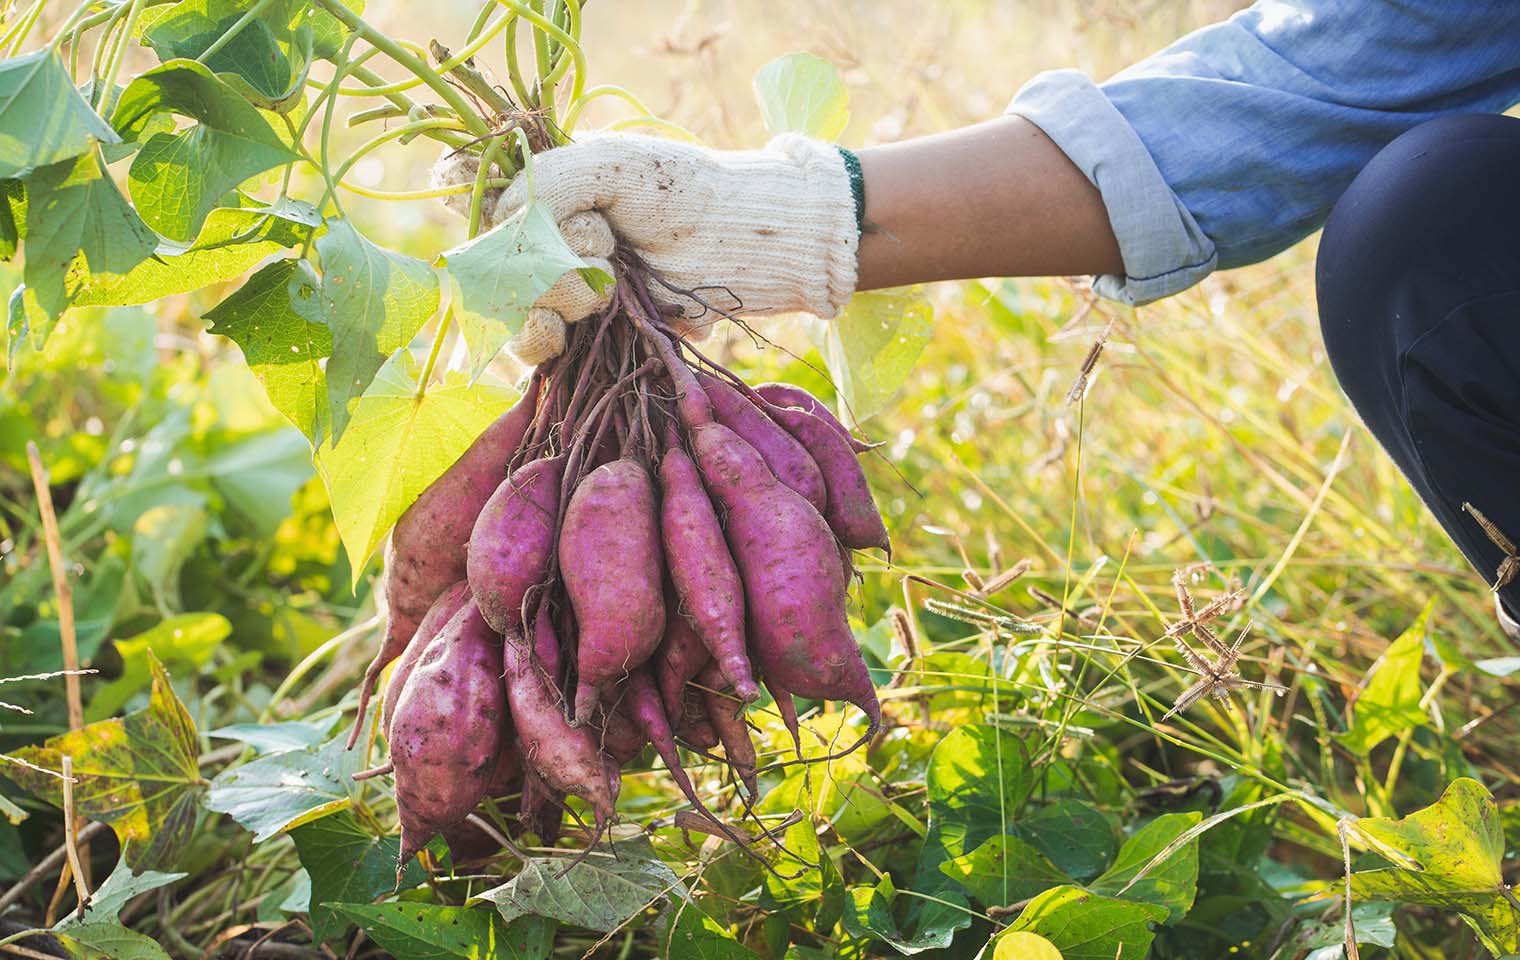
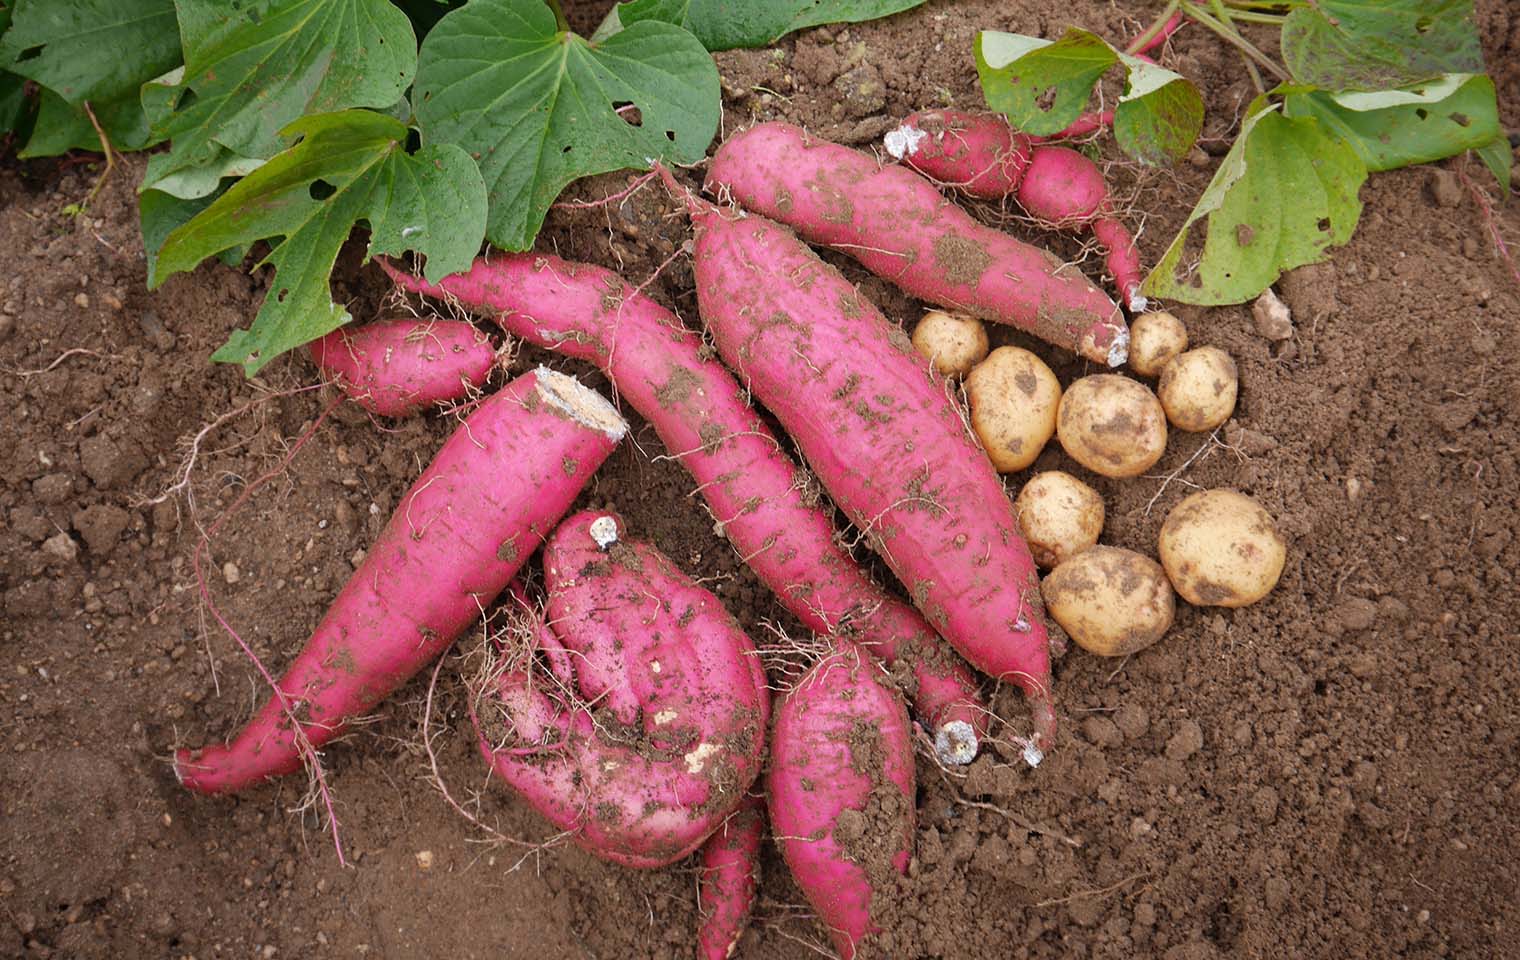
You should be able to harvest within 15-20 weeks, once the foliage has died. When the time comes, use a fork to dig into the soil from a slight distance, levering the fork backwards and lifting out the entire plant if you can. Use your hands to lift out any remaining potatoes. Once you’ve removed the plants, use your fork to turn over the soil again to make sure you don’t miss any tubers. You don’t want to leave pieces of potato or diseased tubers in the ground to rot, because it encourages pests and disease. For the same reason, don’t put your rotting potatoes on the compost heap. It’s very important to note that potatoes that have been exposed to light and turned green should not be eaten as they can cause illness.

Your harvested potatoes can last a few months if stored in a cool, dark and ventilated place - don’t store them in the fridge. Try your potatoes as chips, mash, baked potatoes and roasted potatoes and see what works best.
For not too much effort, you can have a good supply of potatoes for the winter months. Enjoy!
