
From Seed to Salad: A Microgreen Growing Guide
In recent years, the interest in growing microgreens has surged due to their exceptional qualities and culinary versatility. These tiny, nutrient-packed greens not only add a burst of flavour and colour to your dishes but also provide an abundance of health benefits. Growing micro greens on a small scale has become a popular and accessible endeavour for home gardeners, urban dwellers, and even those with limited gardening space. In this article, we will walk you through the essentials of growing microgreens, from selecting seeds to harvesting your miniature greens.
WHAT ARE MICROGREENS?
Microgreens are essentially the young, tender shoots of various vegetable and herb plants, harvested at an early stage of growth, typically when they have developed their first true leaves but before they become mature plants. These miniature greens are renowned for their vibrant colours, which range from deep purples and reds to vivid greens and yellows, adding a visually appealing element to dishes.
In addition to their captivating appearance, microgreens offer a burst of intense flavours that can elevate the taste profile of various dishes. Whether it’s the peppery kick of arugula, the earthy notes of beets, or the refreshing crunch of radishes, these miniature greens introduce a spectrum of tastes to culinary creations.
Microgreens are also prized for their concentrated nutritional content, rich in essential vitamins, minerals, and antioxidants. They often contain higher levels of nutrients than their mature counterparts, making them an excellent choice for health-conscious individuals. Incorporating micro greens into salads, sandwiches, smoothies, and garnishes not only enhances the overall flavour and texture but also boosts the nutritional value of your meals.


THE GROWING PROCESS
Cultivating microgreens indoors is a straightforward and rewarding process. Begin by selecting a container’s base and adding a layer of potting soil or palm peat, ensuring it sits at a depth of approximately 2 cm. Use your hand to pat it down evenly. Next, disperse the seeds uniformly over the surface, followed by a light covering of soil or palm peat. To maintain the right moisture levels, utilise a water spray bottle. Alternatively, you can employ a plastic lid or plastic wrap to cover the container until the seeds germinate, a process that typically spans 3 to 7 days. Once the seeds have sprouted, remove the cover and continue to maintain proper moisture. Harvest your microgreens when the leaves have fully developed, and the plants reach a height of around 4cm. Rinse your harvest, and they are ready to enjoy!

GROWING IN POTTING SOIL OR PEAT?
Growing microgreens in potting soil and peat each comes with its own set of advantages and disadvantages. One of the pros of using potting soil for microgreens is its nutrient-rich composition. Potting soil typically contains a blend of organic matter and essential nutrients, providing a favourable environment for microgreens to thrive. Additionally, it retains moisture well, reducing the need for frequent watering. Potting soil is also readily available and can be used for various other gardening purposes.
On the other hand, peat has its own merits. It is lightweight, making it easy to handle and transport. Peat has excellent water retention properties, which can be beneficial for microgreens, especially in arid climates or if you’re concerned about water conservation. It also has a slightly acidic pH, which some micro greens prefer.
However, there are cons to consider as well. Potting soil can be more expensive than peat, and its composition can vary between brands, potentially leading to inconsistent results. Peat, while effective in water retention, can be less nutrient-rich than potting soil, necessitating the use of additional fertilizers.
In conclusion, choosing between potting soil and peat for growing microgreens depends on your specific needs and priorities. Potting soil offers better nutrition, while peat excels in water retention and weight.

GROWING IN LOW-LIGHT CONDITIONS
Growing microgreens in low-light conditions can be more difficult compared to cultivating them in full sunlight. In low-light environments, such as indoors or areas with filtered light, microgreens may exhibit distinct characteristics. They tend to elongate and stretch towards the light source, resulting in leggy and delicate growth. This is known as etiolation and occurs as the plants attempt to maximize their light intake. To counteract this, it’s crucial to provide adequate artificial light, such as LED grow lights or fluorescent tubes, placed close to the microgreens. Additionally, you must maintain a consistent watering routine, as low-light conditions can slow down evaporation and make it easier to overwater. While the growth may be slower compared to well-lit conditions, you can still achieve good results with patience and proper care. The benefit of growing microgreens in low light is that you can enjoy fresh greens year-round, regardless of outdoor conditions, making it a convenient and accessible option for home gardeners.
HARVESTING YOUR MICROGREENS
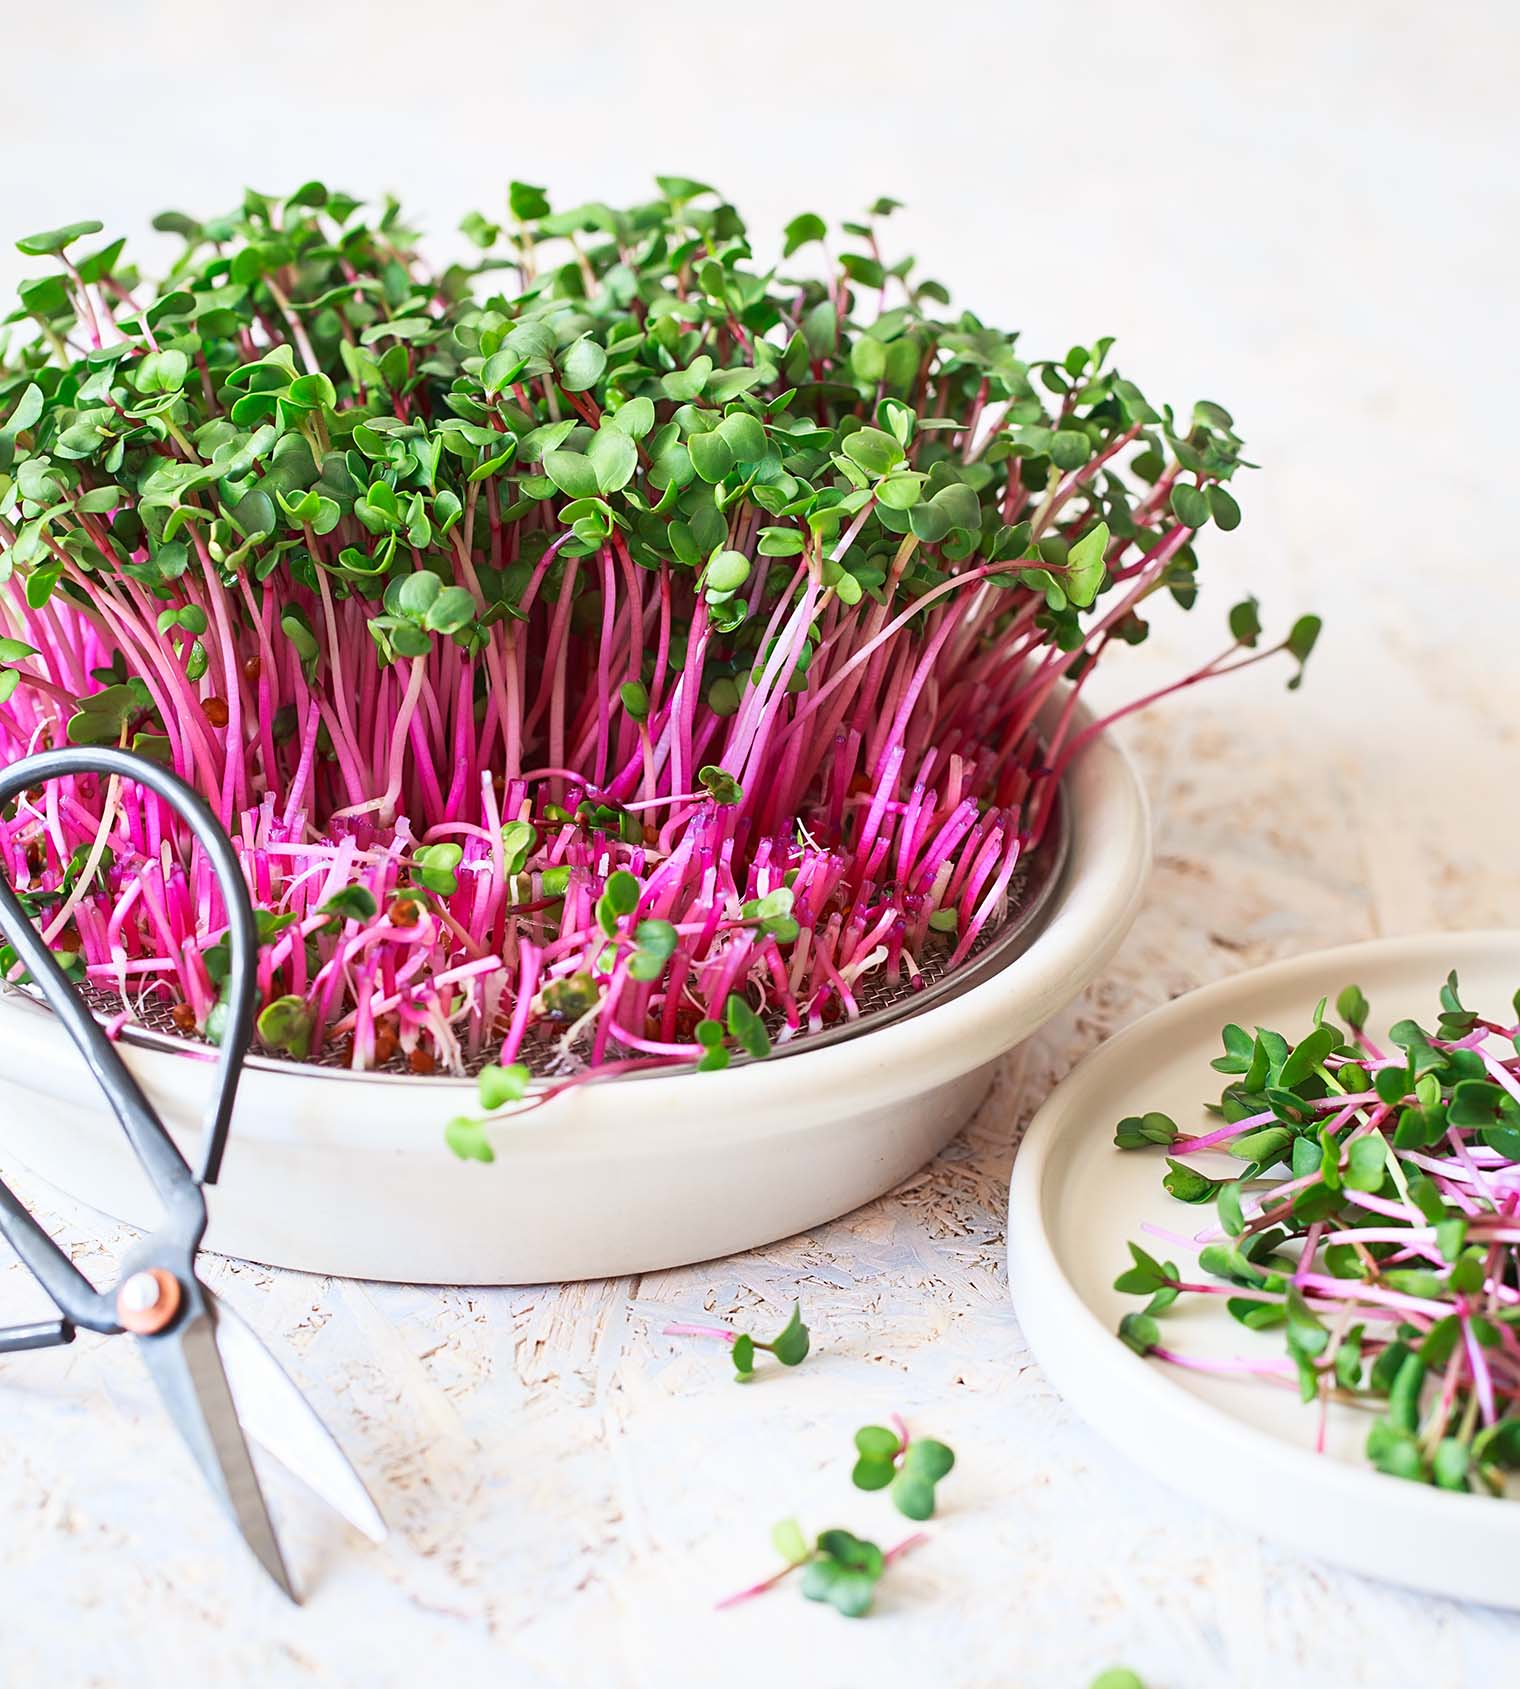
To harvest your microgreens, gently grasp a bunch, and with a pair of scissors held in your other hand, snip the greens just above the soil level. Afterward, thoroughly wash and dry them. Ideally, microgreens are best used immediately after harvesting. However, if you have excess greens, you can store them in the refrigerator. Simply wrap them in a paper towel and place them in an airtight container. Keep in mind that once you’ve harvested microgreens, they won’t regrow, so you’ll need to start the process anew by planting fresh seeds.
VARIETIES OF MICROGREENS TO EXPLORE
The world of microgreens is vast, offering a wide array of flavours and colours. Here are some popular microgreen varieties to consider, which you can buy from Agrimark stores.

TROUBLESHOOTING TIPS
While growing microgreens is generally straightforward, you may face a few challenges during the process. Leggy growth, characterized by tall and spindly micro greens, often indicates they are reaching for more light. To combat this, make sure they receive adequate light by adjusting the position of your grow lights or by placing them in a spot with more natural sunlight. Additionally, yellowing or wilting leaves can be a result of overwatering, so it’s crucial to monitor and adjust your watering routine to maintain appropriate moisture levels. To prevent mold or fungal growth, ensure proper ventilation and moisture control throughout the growing process.

ELEVATE YOUR MEALS WITH MICROGREENS
Microgreens offer a multitude of ways to elevate your meals. Among the top five most popular methods to enjoy microgreens are incorporating them into salads, where they infuse freshness and nutrition. They also shine as fillings in sandwiches, wraps, and burgers, providing both flavour and texture. Microgreens make for an attractive garnish on a variety of dishes, enhancing the presentation and taste. Adding them to smoothies discreetly boosts their nutritional value without overpowering the flavours. Lastly, microgreens can be a delightful topping on pizzas, delivering a burst of colour and health benefits to your favourite slices. These five methods highlight the versatility of microgreens and their ability to enhance a wide range of culinary creations.
