A Beginner’s Guide To Composting
There’s nothing better as a gardener than feeding your vegetables with fresh organic compost from your very own heap. It beats having to pay for it, there are no plastic bags to throw away, and your bin will smell much better without the rotting greens in it.
CHOOSE A LOCATION
For your perfect location, choose somewhere that gets quite a bit of sun. You’ll want it close enough to easily dump your waste and add water when necessary, but not within your line of sight – or smell. Ideally you want to place it in a sunny corner of the garden somewhere accessible. Choose a level bit of ground so that earthworms and other critters can access it and help the composting process, and make sure there are no vigorous growing plants or roots nearby, for instance Spanish reed.
CHOOSE A CONTAINER
There are many options when it comes to the housing. You could choose to simply create a heap, which you cover with thick plastic with a few ventilation holes, or you could buy a compost bin with a lid. For the latter, black is ideal as it retains the most heat. You could also construct something using wood – we have a fairly easy tutorial further on in the article for you to build your own. You may also want to have two smaller piles rather than one big one. This way, you can always have ready-to-use compost in one, while the second is still in the composting process.
START LAYERING
Once you have chosen your spot and container, the fun begins. For your first layer of material, add the carbon or “green” elements, which include hay, straw, leaves, small twigs and chopped up branches, sawdust and pieces of mielie cob. Next, you want to add a nitrogen-rich layer. This can include fertiliser, manure, grass clippings, kitchen waste and garden debris.
Finally, add a layer of natural, pesticide free soil. From now on, when you have a good amount of kitchen waste or grass clippings to add, first add some carbon elements like twigs and leaves, then your kitchen waste, and a bit of soil. If you simply keep adding grass clippings or kitchen waste, there won’t be enough aeration to keep the decaying process going.
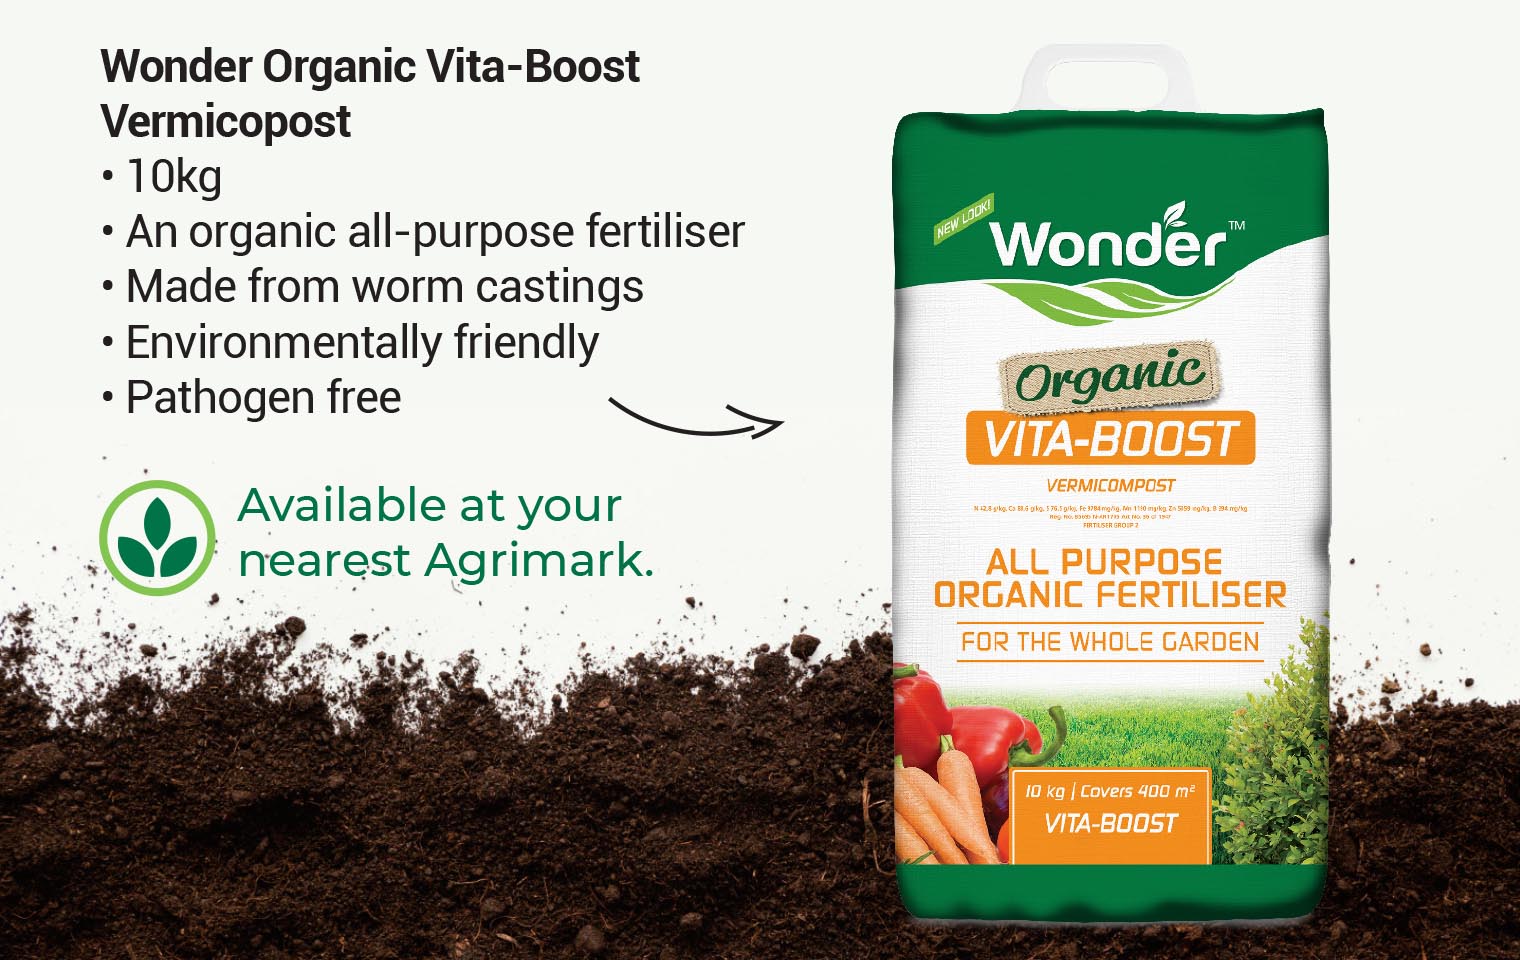
If you want to speed up the process, you could choose to apply some Organic Compost Activator to get the microbes working. After around four to six months, your compost should be ready to use.
TURNING YOUR COMPOST HEAP
Turning is something not everyone agrees on. Some feel it’s essential and others feel it’s a waste of time. If your compost heap has a good mix of wet and dry material, it should get all the air and moisture it needs. With sufficient heat and micro-organisms to aid the composting process, you shouldn’t have to do very much at all. However, if the composting process has slowed down, it’s not as warm as it was before or has become dense, then it might not be a bad idea to give it a good turn.
ADDING WATER
A common mistake people make is adding too much water. As mentioned above, if all the essentials are in place, you shouldn’t have to do anything to maintain your compost heap. The green/carbon elements may look dry, but they can contain a lot of water. As a general rule, not enough moisture is better than too much, although this could mean the compost takes a little longer to mature. If it’s looking and feeling very dry, you can add a sprinkling of water.
The more effort you put into the initial preparing and correct layering of materials, the quicker the compost will develop. When the material has turned a dark brown colour, looks almost like soil and has an earthy smell, the composting process is complete. It is then best left for a month or two to mature before you use it in your garden.
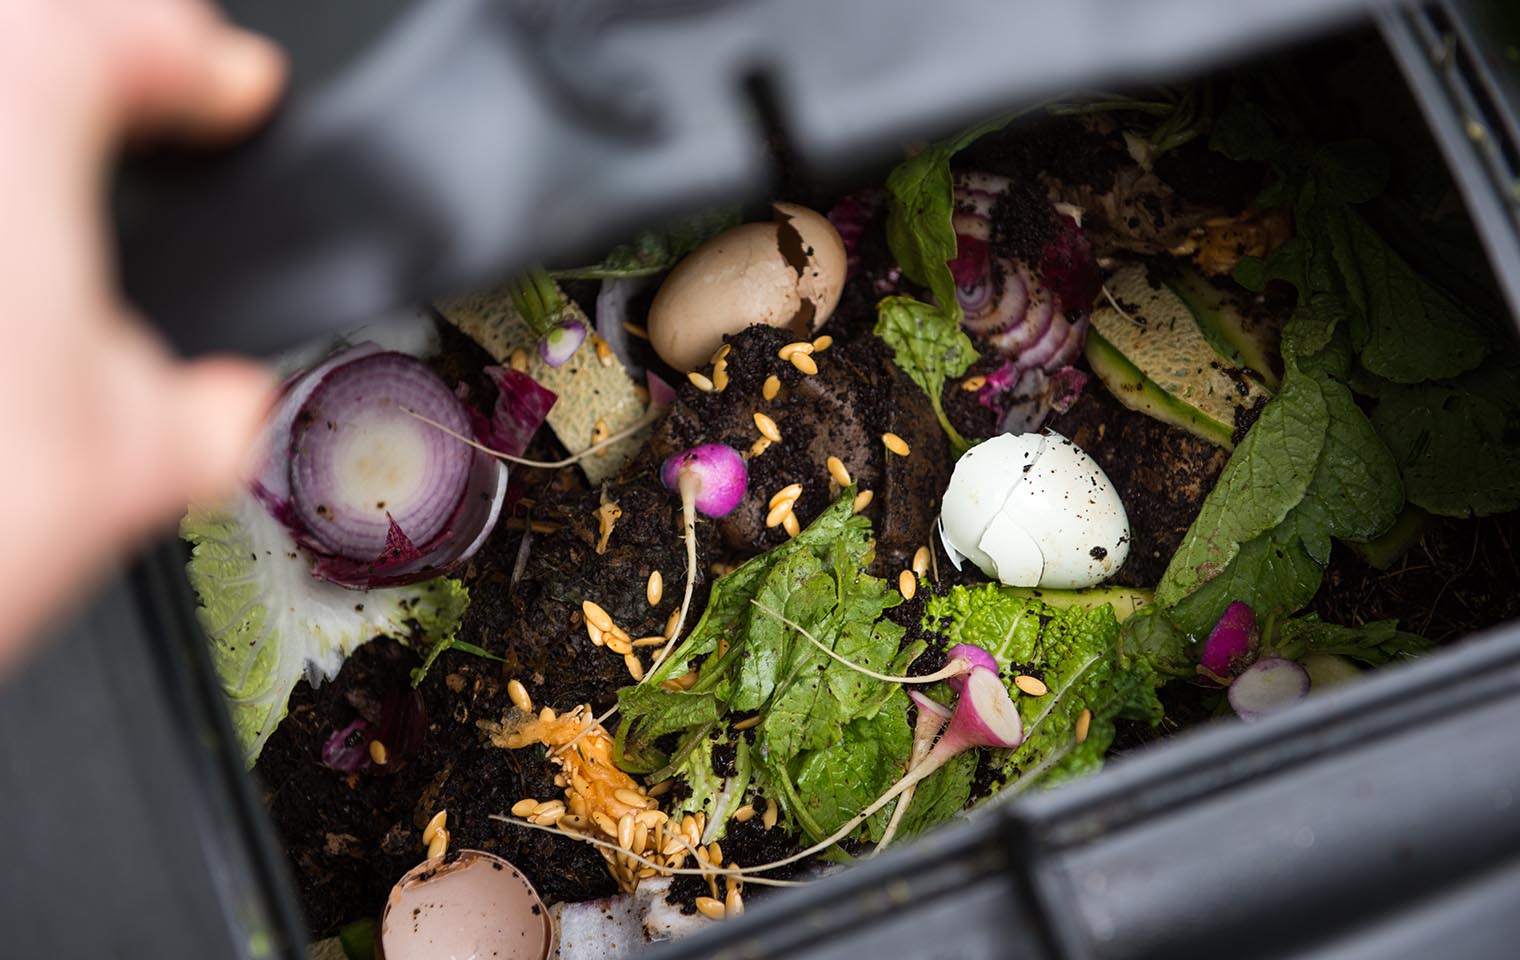
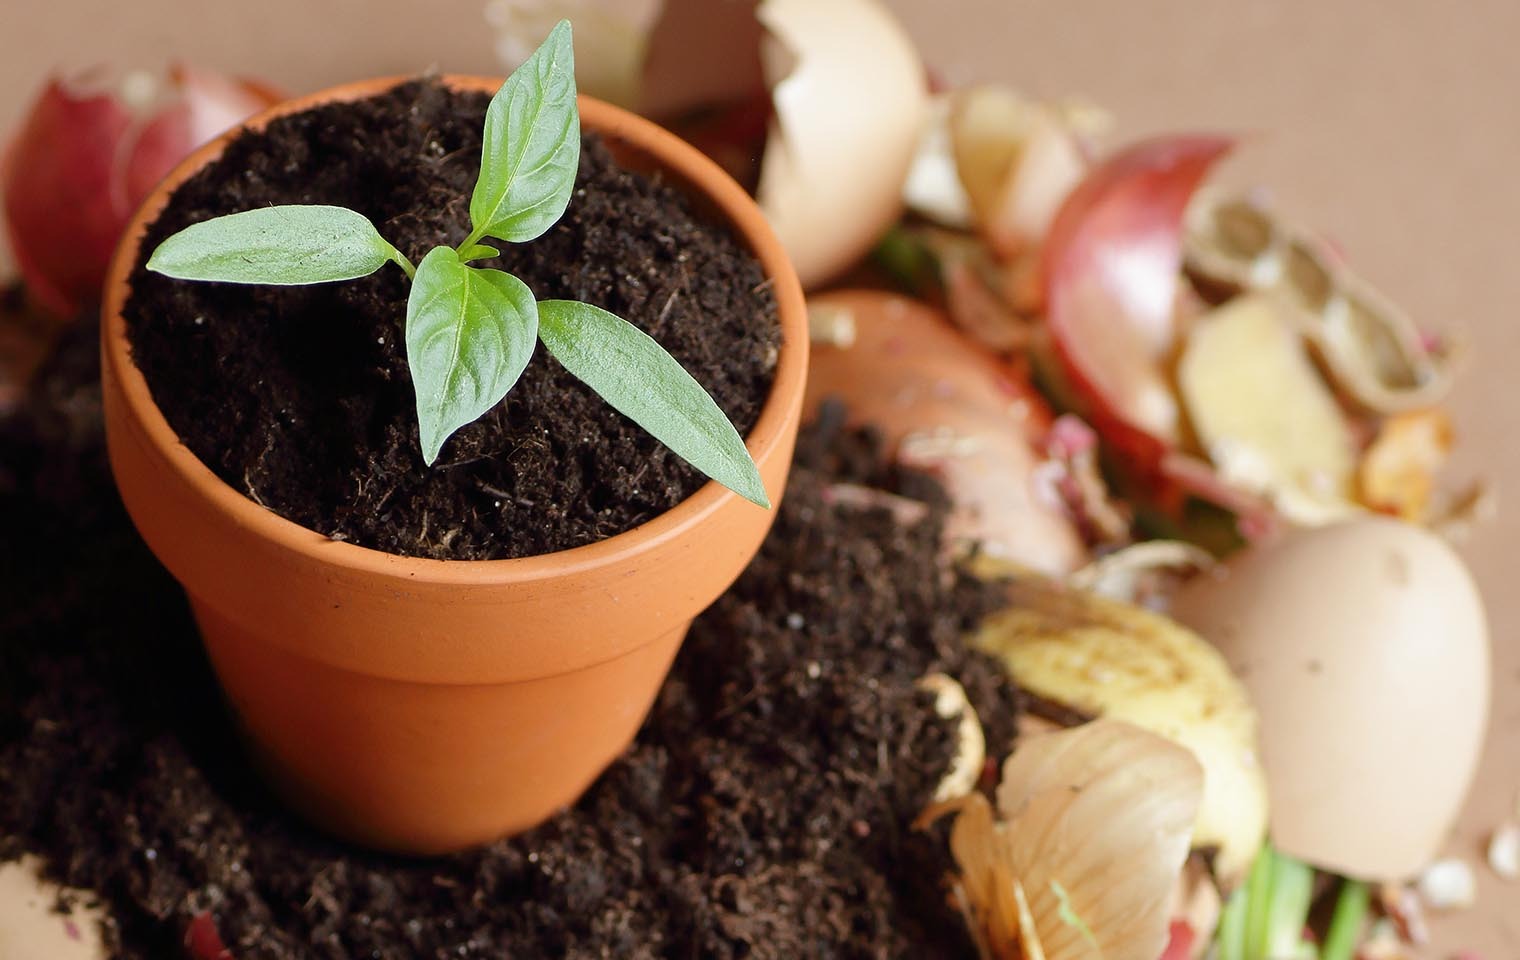
WHAT CAN GO INTO THE COMPOST?
- Fruit or veg that’s started to turn or has gone off
- Fruit & vegetable peelings
- Flowers
- Wood ash
- Tea bags and coffee grounds
- Egg shells and egg boxes (broken up)
- Tissues, kitchen towels and toilet roll holders (torn up)
- Shredded newspaper, paper and cardboard (non-glossy)
- Weeds (that have not gone to seed)
- Grass cuttings, pruning (broken down into smaller bits) and leaves
DO NOT ADD DISEASED OR CHEMICALLY-TREATED PLANTS, ANY COOKED FOOD, MEAT, FISH, BONES, DAIRY, FAT, BREAD, PASTRY, PET OR HUMAN WASTE, PLASTIC, FOIL OR GLOSSY PAPER.
